 Dual 4' Fluorescent Tube LED Conversion

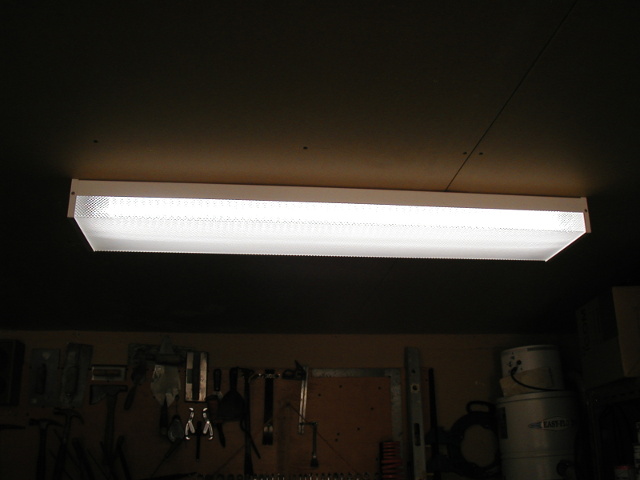
Finished LED Conversion
I have had poor luck running dual 4' fluorescent tube in my unheated garage. Tube
and ballast life have been marginal. This could be caused by low quality tubes or
by environmental issues. With all the current promotion of conversion to LED
lighting, I decided to try an experiment and do a home brew LED conversion.
I decided I wanted to to reuse the existing enclosure and simply strip out the
ballast and tube mounting sockets and replace the gear with LED strip lighting,
powered by a 12V supply. Total cost for this project is around $20 and takes about an hour.

Supplies and Equipment Needed
- Some small red and black hookup wire.
- A 5 meter roll of white LED strip lighting
- A 12V 5 or 6 amp power supply to power the strip lights
- Soldering station, scissors, wire cutter and stripper, some screw drivers
Stuff to Order
Visit your favorite online supplier (ebay, Amazon) or if you are lucky enough to have
a local electronics store, you will need to purchase a 5 meter roll of LED strip and a power supply.
The strip I used has the following characteristics: 12vdc, 5630 type LEDs, 60 LEDs/meter,
cool white, 5 meter length. The power supply I used was an inline 12 volt 6 Amp adapter
similar to a laptop power supply (model LX1206 or similar).
How Its Done
If you are not comfortable with wiring line voltage appliances, please consult
someone who is. Shocks are not pleasant and the side effects (like falling off a
ladder) can be particularly bad news.
- Turn off the power to the light fixture.
- Remove the plastic diffuser (cover) to expose the tubes.
- Carefully remove the 4'fluorescent tubes and put them someplace they wont
fall over and break.
- Examine your fixture to see if a conversion is straight forward. On my fixture,
the ballast and wiring was hidden under a sheet metal cover. This cover was
large enough that I could mount the LED strips on the surface and hide the
power supply on the upper side of the panel.
- Remove the cover, disconnect the A/C wiring to the ballast, remove the ballast
and the tube mounting sockets. These are usually held on by a screw and various
sheet metal clips.
- Clean the cover piece with rubbing alcohol or soap and water to degrease in
preparation for mounting the LED strips.

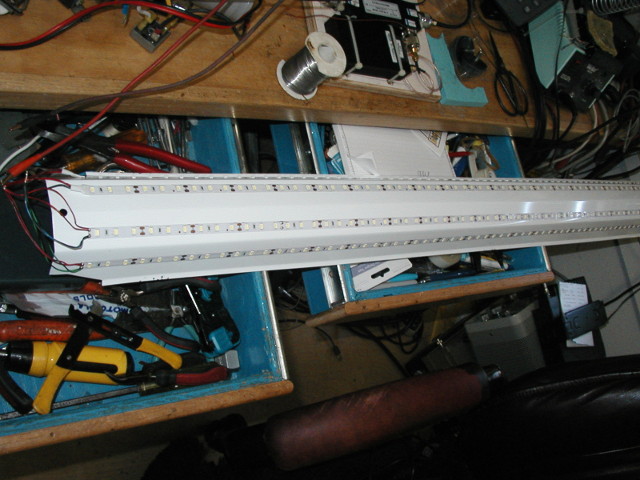
Strips mounted and wired
- Cut and mount the LED strip into 4 pieces that fit on the cover plate as
per the photo above. Be careful when cutting the strips. Usually you must cut
the strips where indicated (typically every 3 LEDs). I wanted a large light
dispersion, so strips were mounted on the sides of the cover. It is also possible
to mount all 4 strips so they point more straight down if you need targeted
lighting. After cutting my strips, I had about 1 foot of leftover strip from the
roll (good for another project).
You can use fewer strips if you want a dimmer light. Four strips from the roll
I bought draws about 4.5 amps at 12 volts (54W). I felt that was a pretty good
match to the pair of 32W tubes in the old fixture.
- You must then solder power wires to one end of each strip. Each of the 4 strips
should now have a positive (red) and a negative (black) wire attached.
- Connect up the 4 positive wires from the strips with the positive wire from the power supply
and the 4 negative wires to the negative wire of the power supply.
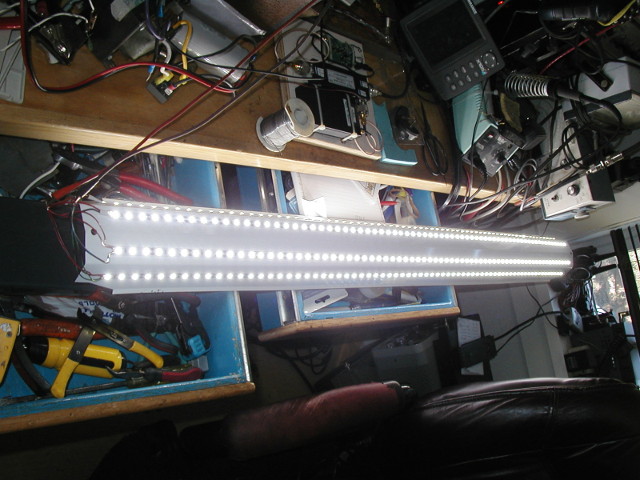
- You can now test the assembly by plugging in the power supply.

Strips Energized
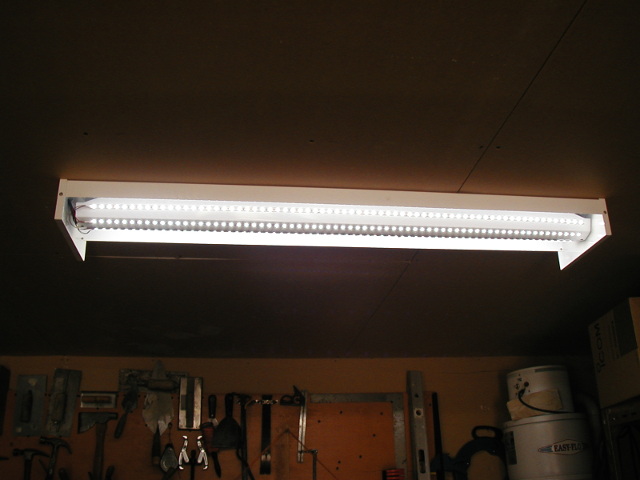
- Now wire in the power supply to the house wiring and and mount the panel in the
fixture.

Fixture Energized

 Back to my Project(s) Page
 Dual 4' Fluorescent Tube LED Conversion
 Dual 4' Fluorescent Tube LED Conversion

![]()


![]()